Getting Started with Razer QA Companion-AI
This guide will help you set up and start using Razer QA Companion-AI for your game testing needs.
Project Setup
- Access the Razer QA Companion-AI web platform and set up your project.
- Download and install the Razer Game Data Bridge on your PC and follow the steps below to complete setup.
- (optional) Integrate with the supported ticketing platform (JIRA) to support your workflow
The setup provides access to One-click Bug Reporting and Performance Metrics Detection features.
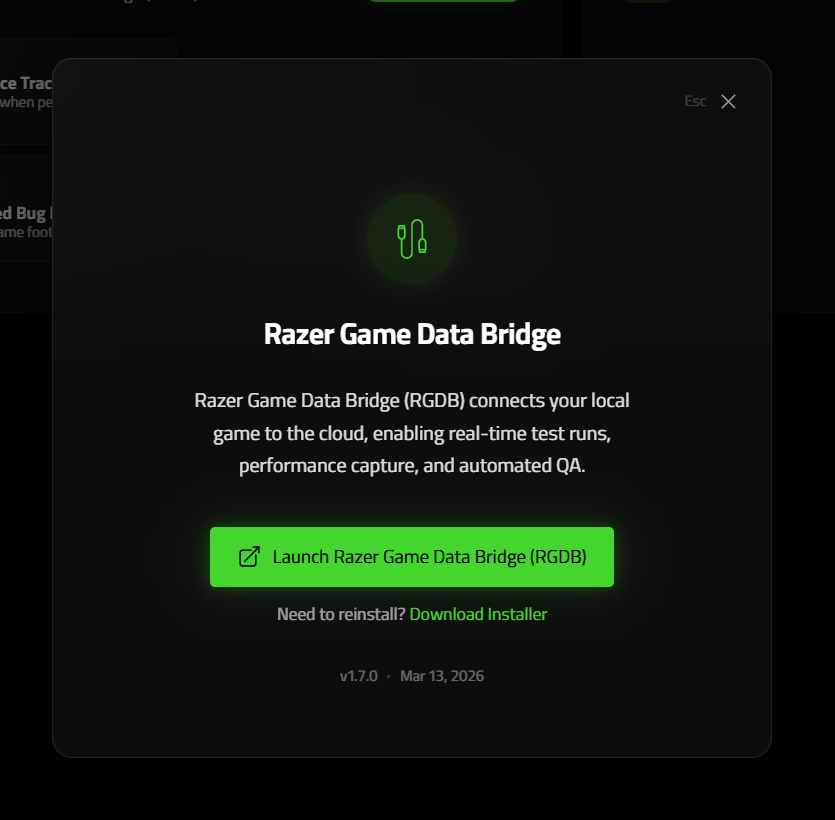
Razer Game Data Bridge
The Razer Game Data Bridge is required on your test machine to capture data from your game application to facilitate bug detection and reporting.
To setup the Razer Game Data Bridge:
- Download the installer via the pop-up on login.
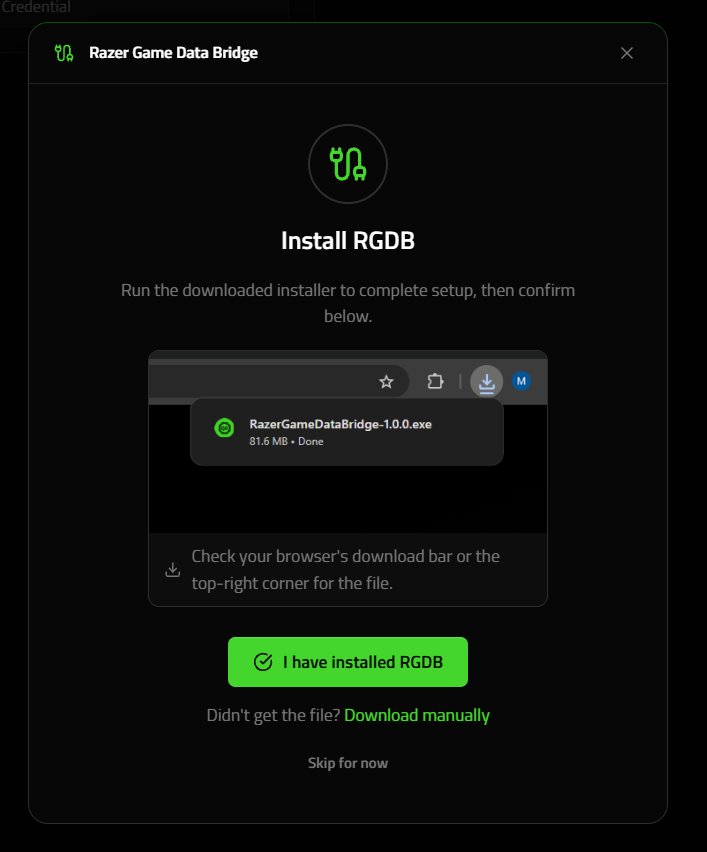
- Double-click the .exe to install Razer Game Data Bridge.
info
You may access the installer download by clicking on the 'Bridge' red dot on the top nav bar.
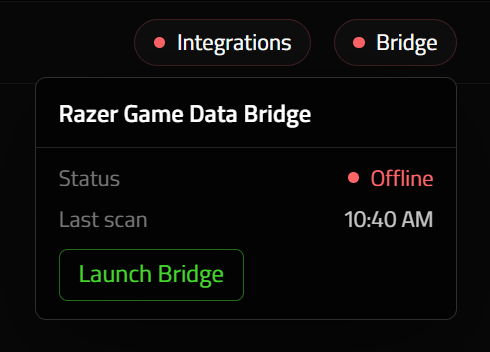
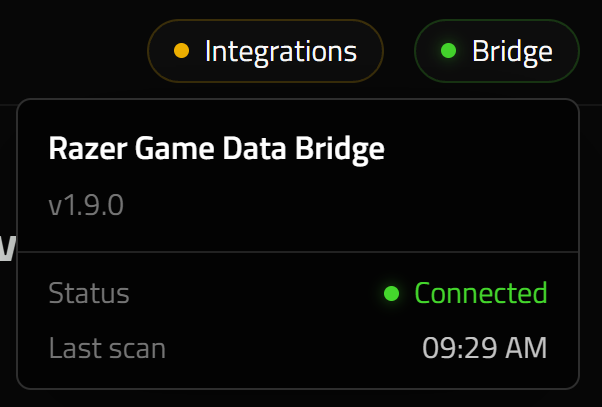
- Once RGDB is installed and launched, you will notice the green status light on the web application
Next Steps
Once you've completed the setup: