Getting Started
The Interhaptics SDK is a powerful tool for developers who want to add haptic feedback to their applications. This guide provides step-by-step instructions on how to integrate the Interhaptics SDK into your Unreal Engine project (versions between 4.26 -- 5.5) by providing a basic integration example.
Prerequisites
To proceed with the integration process, you need to have a basic understanding of Unreal Engine and have it installed on your computer (at least version 4.26). Additionally, you should have the Interhaptics SDK downloaded or cloned from the official repository.
Step 1: Add the Interhaptics SDK files
If you don't need to make a build for PlayStation 5, Nintendo Switch or XBox you can install the Interhaptics SDK directly from Fab.com and go directly to Step 3.
Create a Plugins folder: Navigate to your project folder and create a "Plugins" folder at the root level (YourProject/Plugins).
Go inside the Plugins folder and clone the Interhaptics SDK repository, or alternatively download the package from https://github.com/Interhaptics/UnrealEngine_CoreSDK/archive/refs/heads/master.zip and extract it in the Plugins folder.
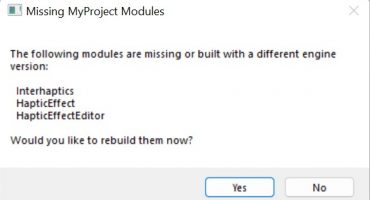
Step 2: Build the Interhaptics modules
Open your Unreal Engine project, and the engine will prompt you to rebuild the Interhaptics modules included in the plugin. Rebuilding might take more than a few minutes with no prompt or timer showing that, so allow the time for the project to restart before re-opening it.

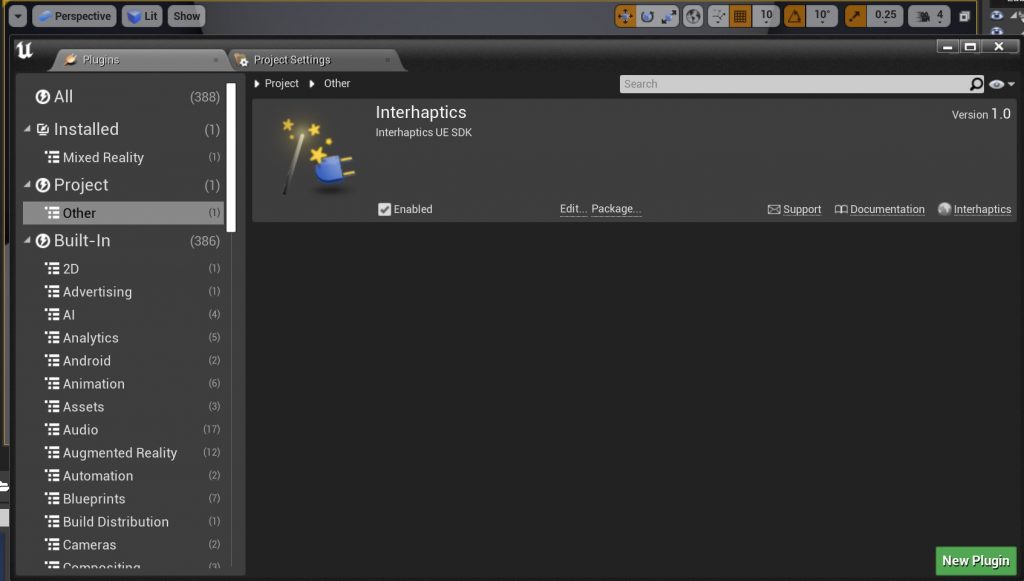
Step 3: Enable the Interhaptics plugin
Open the Plugins section, and make sure the Interhaptics plugin is enabled under Project > Other.
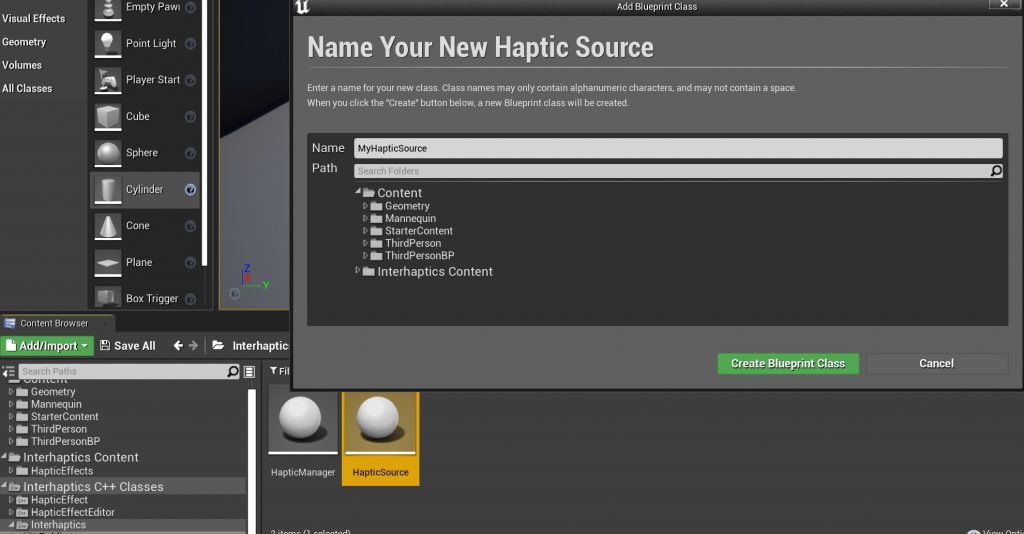
Step 4: Add a Haptic Source Blueprint
Create a new Blueprint with the Haptic Source type, and use the following features:
- General: Assign a Haptic Effect to the object to be played. The Interhaptics Unreal SDK contains already a library of haptic effects which can be found in the package.
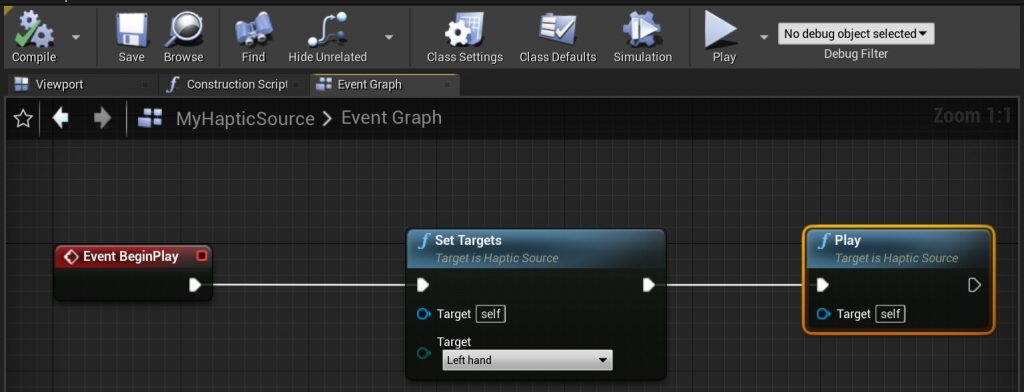
- Blueprint event graph: Set Targets: allows you to set the targets of the source between Left, Right, Both, or None.
- Blueprint event graph: Play: starts all haptic events related to the haptic source.
- Blueprint event graph: Stop: stops all haptic events related to the haptic source.
After setting up the Haptic Source Blueprint (compile, test and save), drag it into the viewport and press Play.
You can see a basic example of haptic blueprint in the images below.
Step 5: Add New Haptic Effects
To add new haptic effects (.haps files) created with Haptic Composer,
you can simply drag and drop the .haps files from your folder to your
Unreal project Content Browser.
If you want to add a modified haps file that has been already imported,
re-import it under a different name or delete the .uasset file
associated with it.