Requirements
- Razer Synapse 4 and Razer Chroma are prerequisites for this setup. The latest version can also be downloaded from this link Check the Chroma option during setup. After the setup is finished sign in with your Razer Id or create one to get started (or log in as a Guest). If a reboot is required, restart your PC.
- WYVRN runtime for Unreal Engine WYVRN built-in plugin - Get the WYVRN runtime from this link
- Chroma Emulator - Display Chroma animations without needing Chroma hardware. The documentation for the Chroma Emulator can be found here
- Synesthesia Console - The console version of the Synesthesia app which displays the WYVRN events received from the Unreal project or game build. Link
WYVRN SDK in Unreal Engine (Built-in)
These instructions are for participants in the Epic Megajam 2025 (2025-10-16 to 2025-11-27).
The WYVRN SDK is part of the Unreal Engine which can be used to control Chroma and haptics.
Getting Started
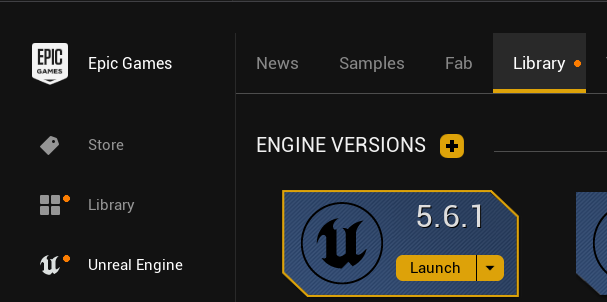
To get started open Unreal Engine.
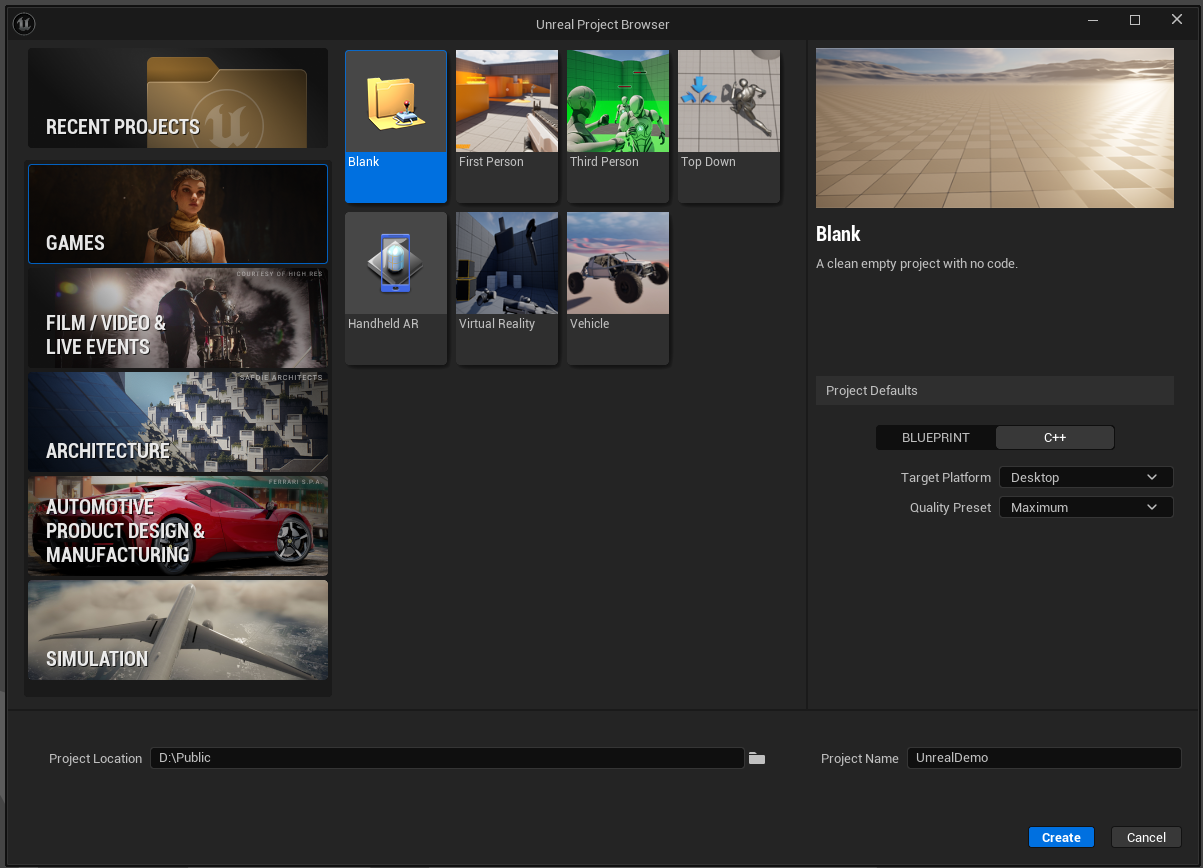
Create a new project or open an existing project. Both Blueprints and C++ are supported.
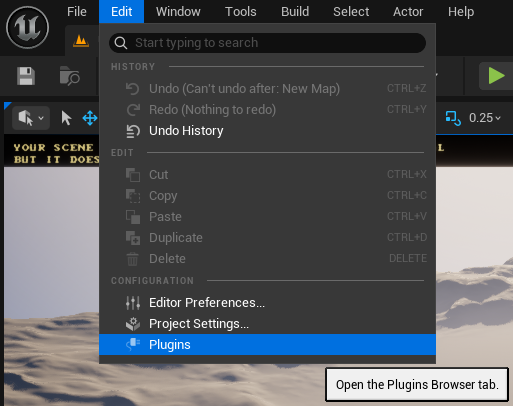
Use the Edit menu and select the Plugins menu item.
Search chroma to select the Razer Chroma Devices plugin.

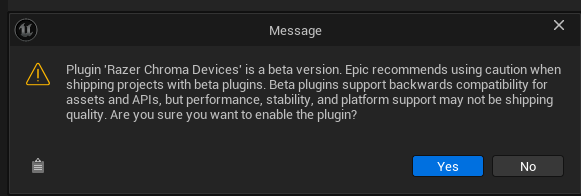
Activate the plugin and click Yes if asked to accept the beta plugin.
Click Restart Now to relaunch the Unreal Engine with the plugin enabled.

The plugin is now enabled.

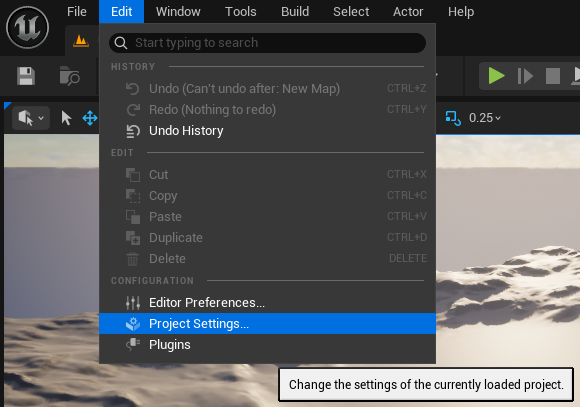
Use the Edit menu and select the Project Settings menu item.
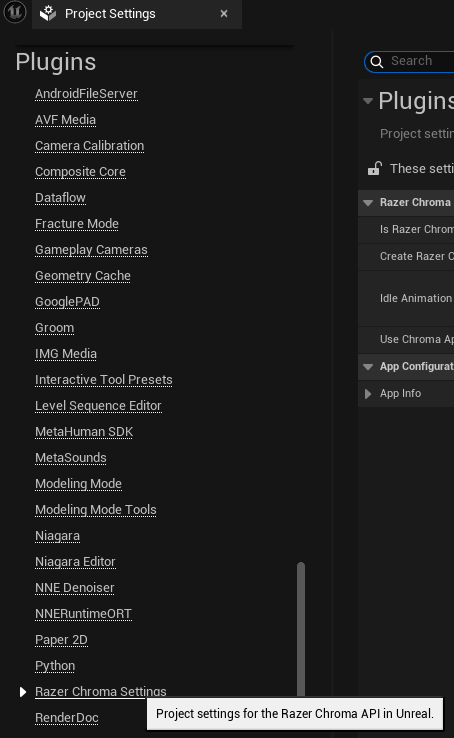
Scroll down to the Plugins section and select the Razer Chroma Settings project settings.
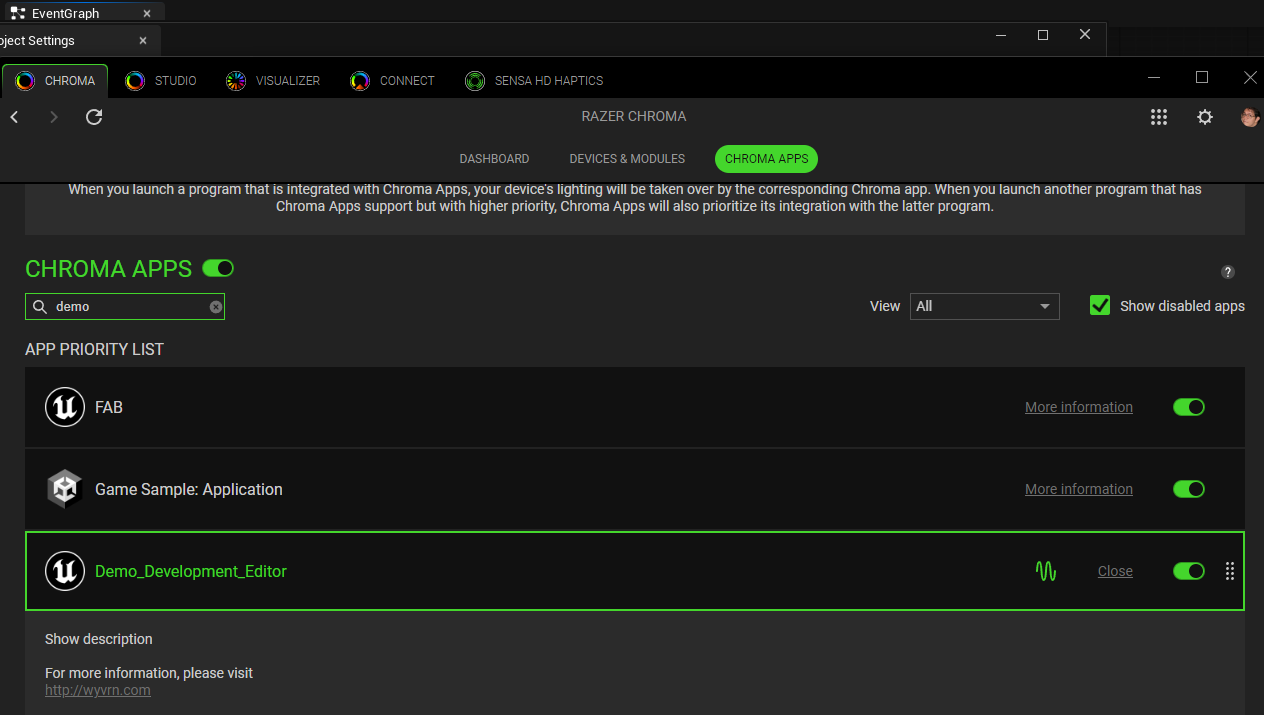
Check Create Razer Chroma Input Device and expand App Info to update the details for Application Title, Application Description, Author Name, and Author Contact
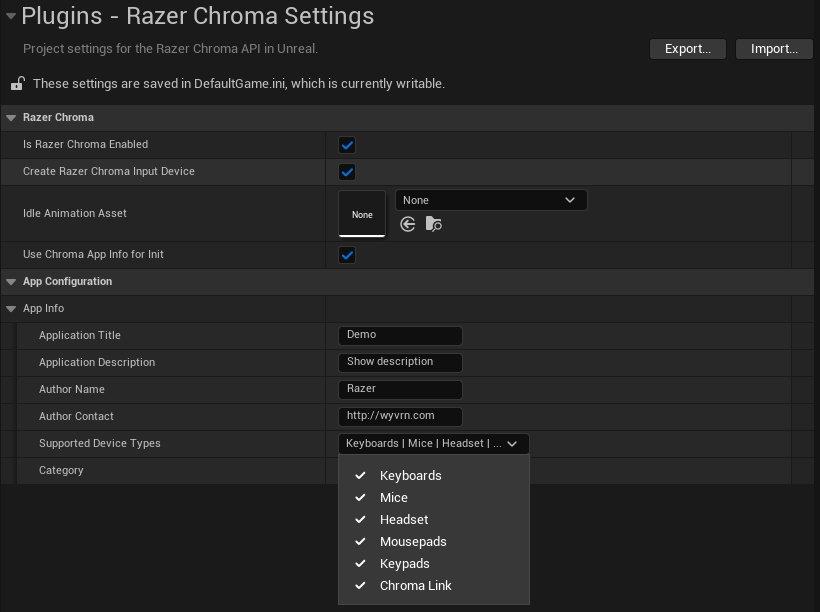
The App Info specifies details that appear in the CHROMA APPS list.
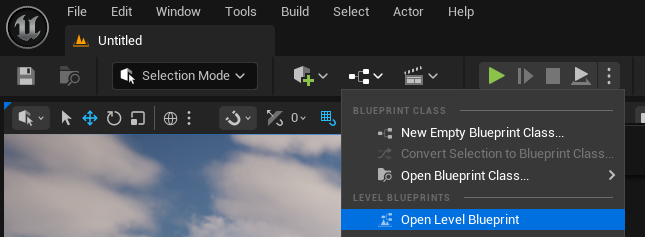
Open the level blueprint.
Create a Set Event Name node which is used to trigger Chroma and haptics events by name.
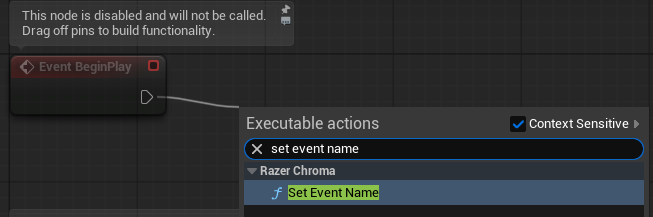
Name any of your game events and pass the name to Set Event Name.
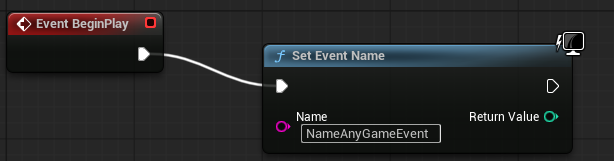
This causes the external command to trigger.
Demo_Development_Editor: play NameAnyGameEvent
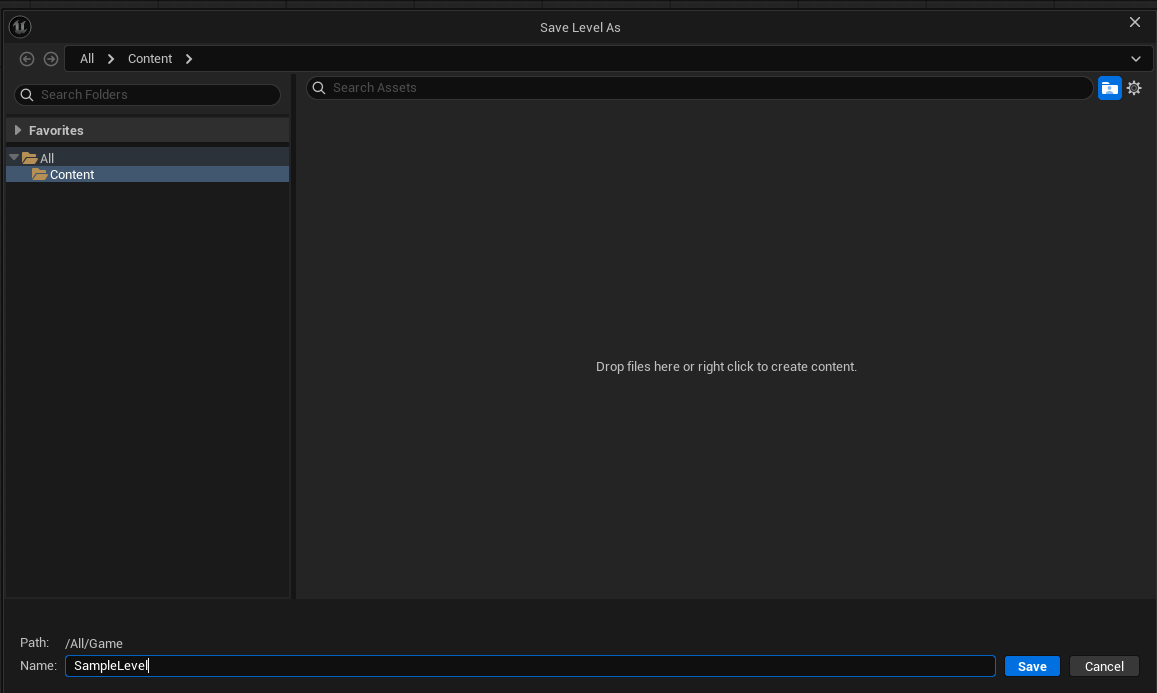
Save the level to save the blueprint changes.
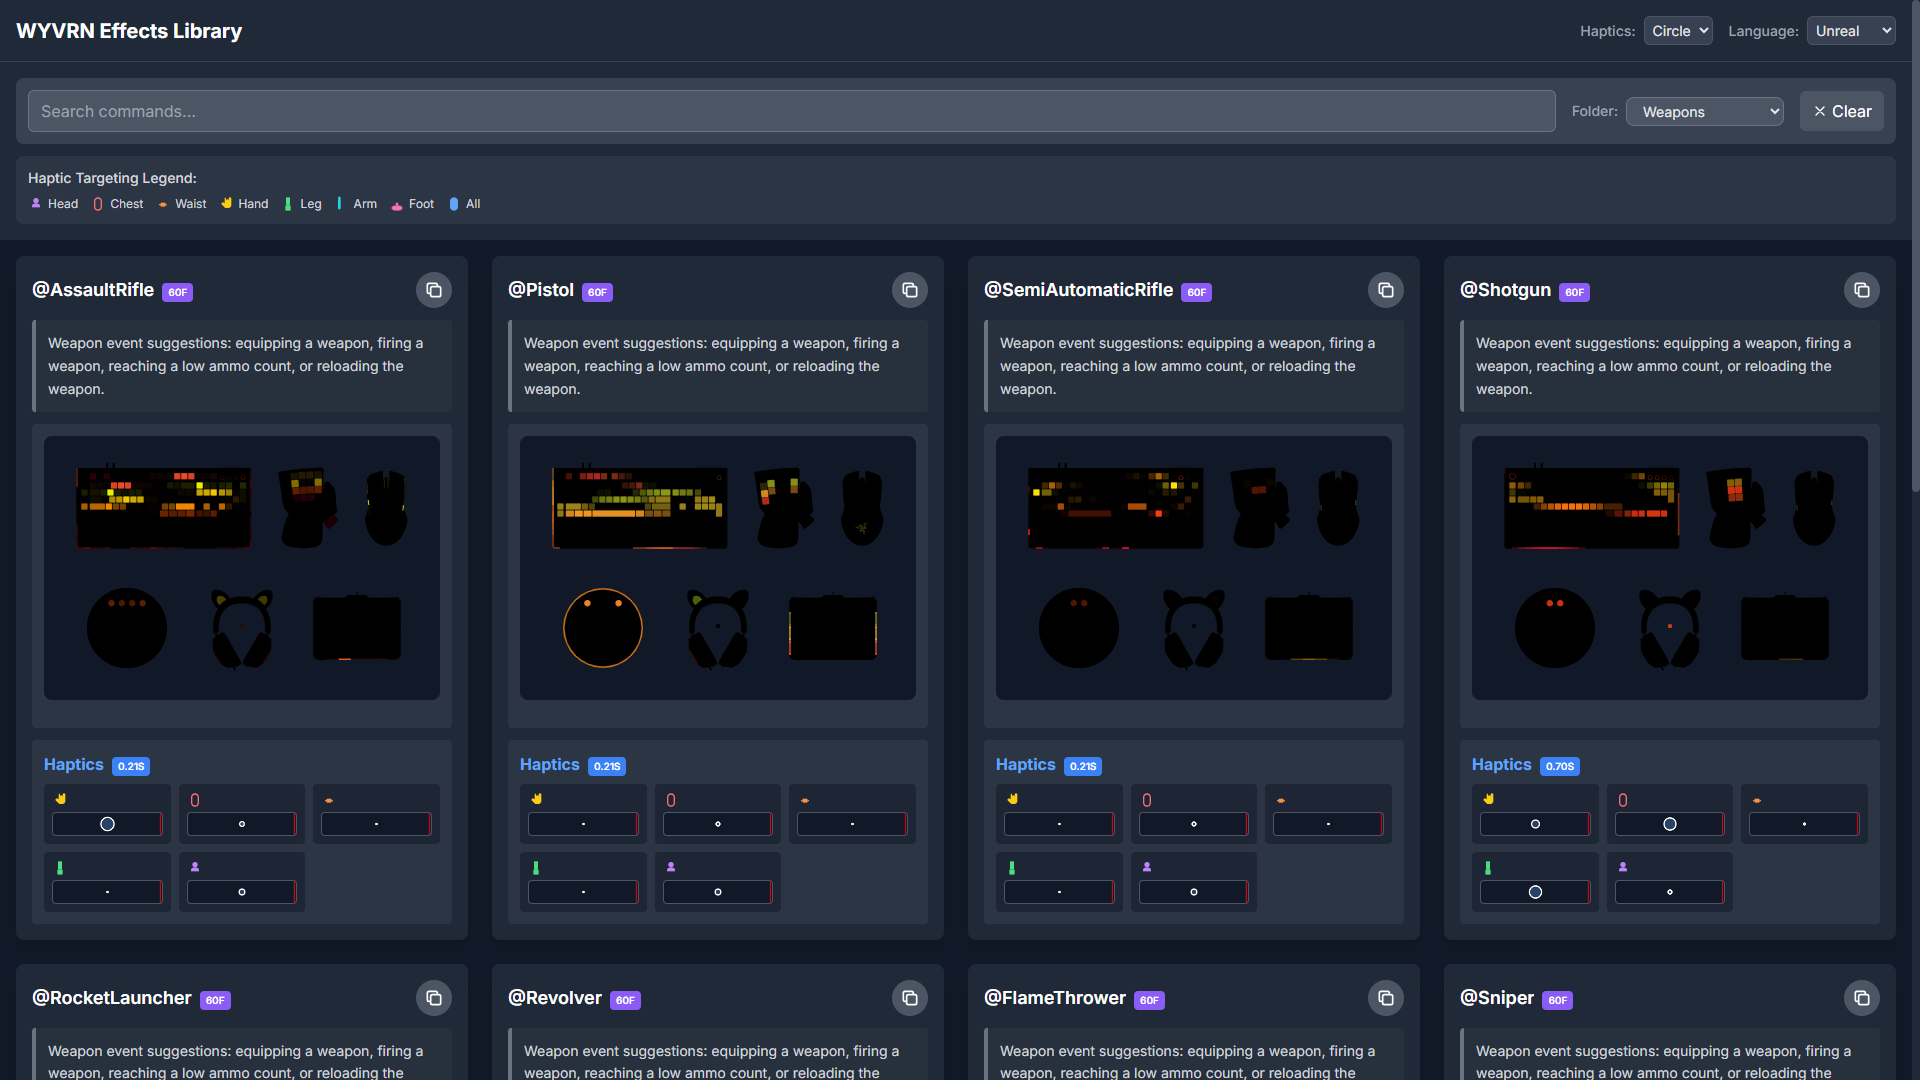
The WYVRN Effects Library provides a set of existing event names to choose from.
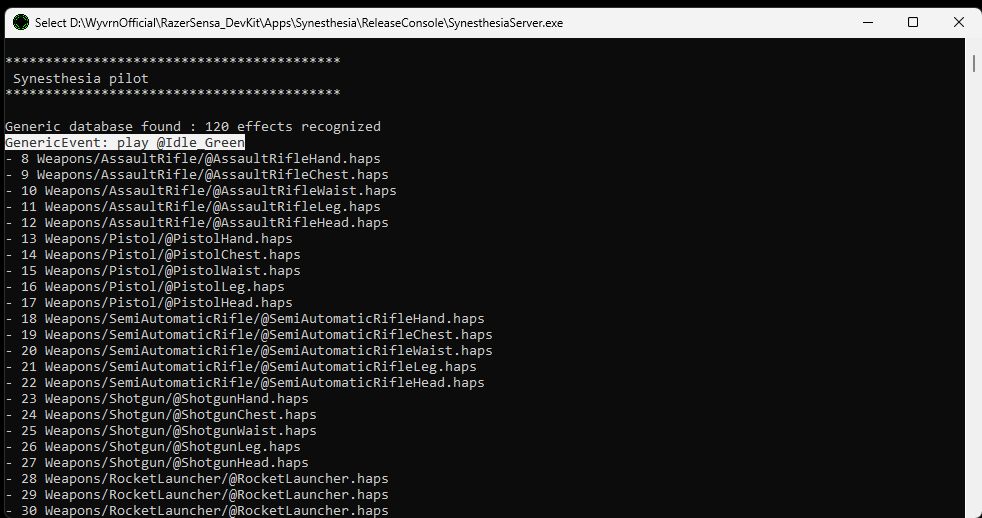
Use SynesthesiaServer.exe from the WyvrnOfficial Github repository to verify event names are being sent properly by the game events.
The public repository can be downloaded or cloned to get access to the tools.
git clone https://github.com/WyvrnOfficial/RazerSensa_DevKit
Use Apps/Synesthesia/ReleaseConsole/SynesthesiaServer.exe in order to view game events sent by SetEventName.
Use the Chroma Emulator in order to view the Chroma animations.
C++ Project
The Razer Chroma Devices plugin can be used from Blueprints and C++. Some build setup is needed to use the plugin from C++.

RazerChromaDevices Module
In order to use the Unreal built-in plugin from C++ add the RazerChromaDevices to your project C# build script at MyProjectRoot/Source/MyProject/MyProject.Build.cs. Add the RazerChromaDevices to the PublicDependencyModuleNames array.
// Copyright Epic Games, Inc. All Rights Reserved.

using UnrealBuildTool;

public class MyProject : ModuleRules
{
	public MyProject(ReadOnlyTargetRules Target) : base(Target)
	{
		// ...

		PublicDependencyModuleNames.AddRange(new string[] { "Core", "CoreUObject", "Engine", "InputCore", "EnhancedInput", "RazerChromaDevices" });

		// ...
	}
}
C++ Code
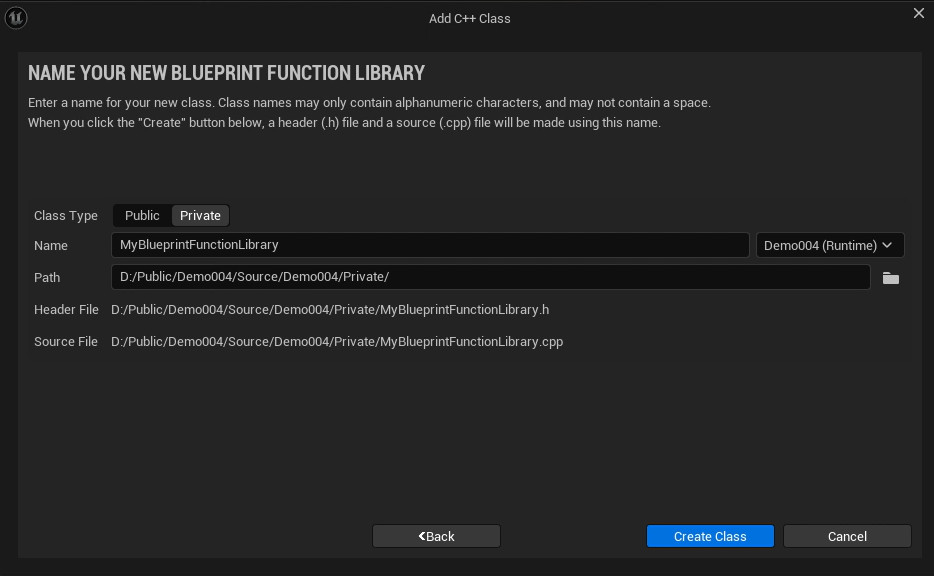
One way to use the RazerChromaDevices module from C++ is by wrapping it with a Blueprint library. Use the Tools menu and select the New C++ Class... menu item.

In the dialog select Blueprint Function Library and click Next.
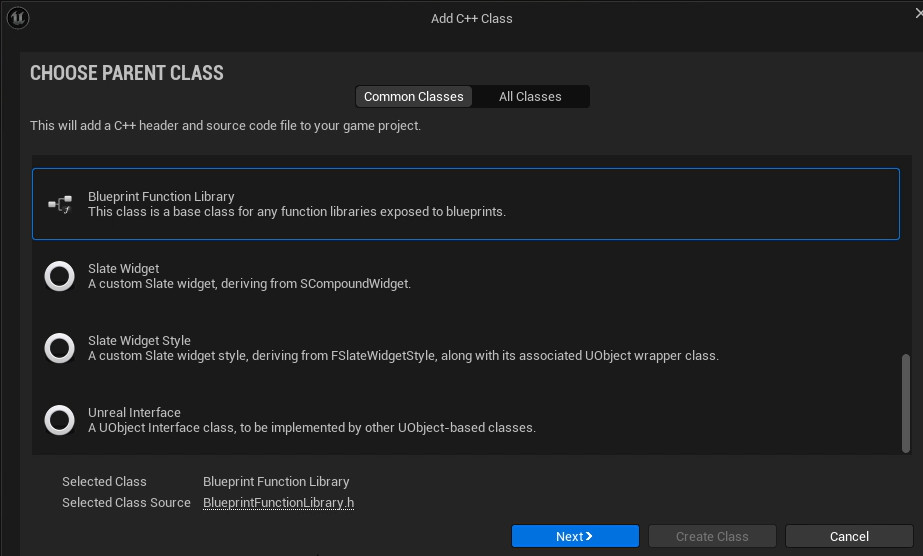
The Class Type can be Private with the scope only needs to be accessed from the game. The Name can be MyBlueprintFunctionLibrary as an example. And click Create Class.
The SampleMyEvent blueprint function can be added to the MyBlueprintFunctionLibrary.h header.
// Fill out your copyright notice in the Description page of Project Settings.

#pragma once

#include "CoreMinimal.h"
#include "Kismet/BlueprintFunctionLibrary.h"
#include "MyBlueprintFunctionLibrary.generated.h"

/**
 *
 */
UCLASS()
class UMyBlueprintFunctionLibrary : public UBlueprintFunctionLibrary
{
	GENERATED_BODY()


	UFUNCTION(BlueprintCallable, meta = (DisplayName = "MyEvent", Keywords = "A game event"), Category = "Sample")
	static void SampleMyEvent();

};
Add the RazerChromaFunctionLibrary.h include to the MyBlueprintFunctionLibrary.cpp implementation to be be used from the SampleMyEvent body.
// Fill out your copyright notice in the Description page of Project Settings.


#include "MyBlueprintFunctionLibrary.h"
#include "RazerChromaFunctionLibrary.h"


void UMyBlueprintFunctionLibrary::SampleMyEvent()
{
#if PLATFORM_WINDOWS
	URazerChromaFunctionLibrary::SetEventName("@Idle_Purple");
#endif
}
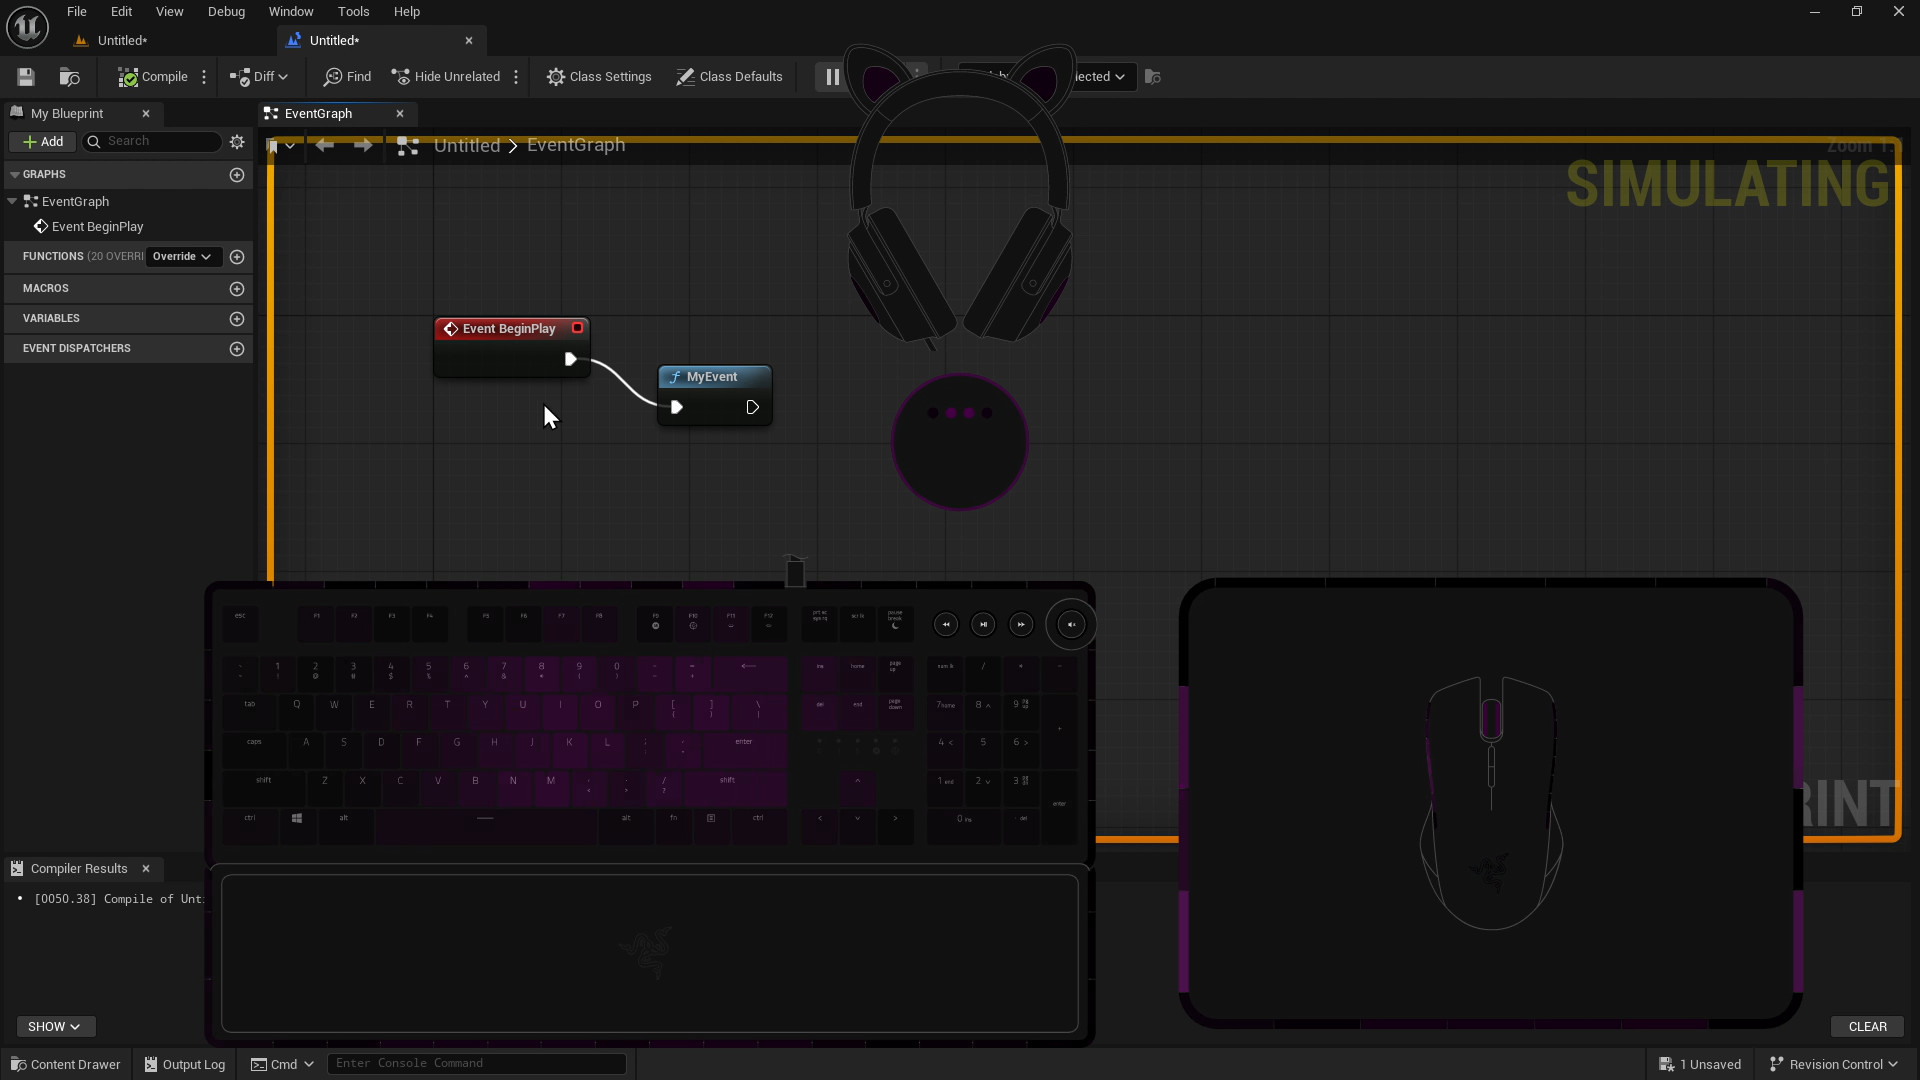
The SetEventName call can be automatically copied from the WYVRN Effects Library just select the language as Unreal (C++ Experimental Built-in Plugin). Click the Copy button on the desired effect which adds the code snippet to the clipboard.
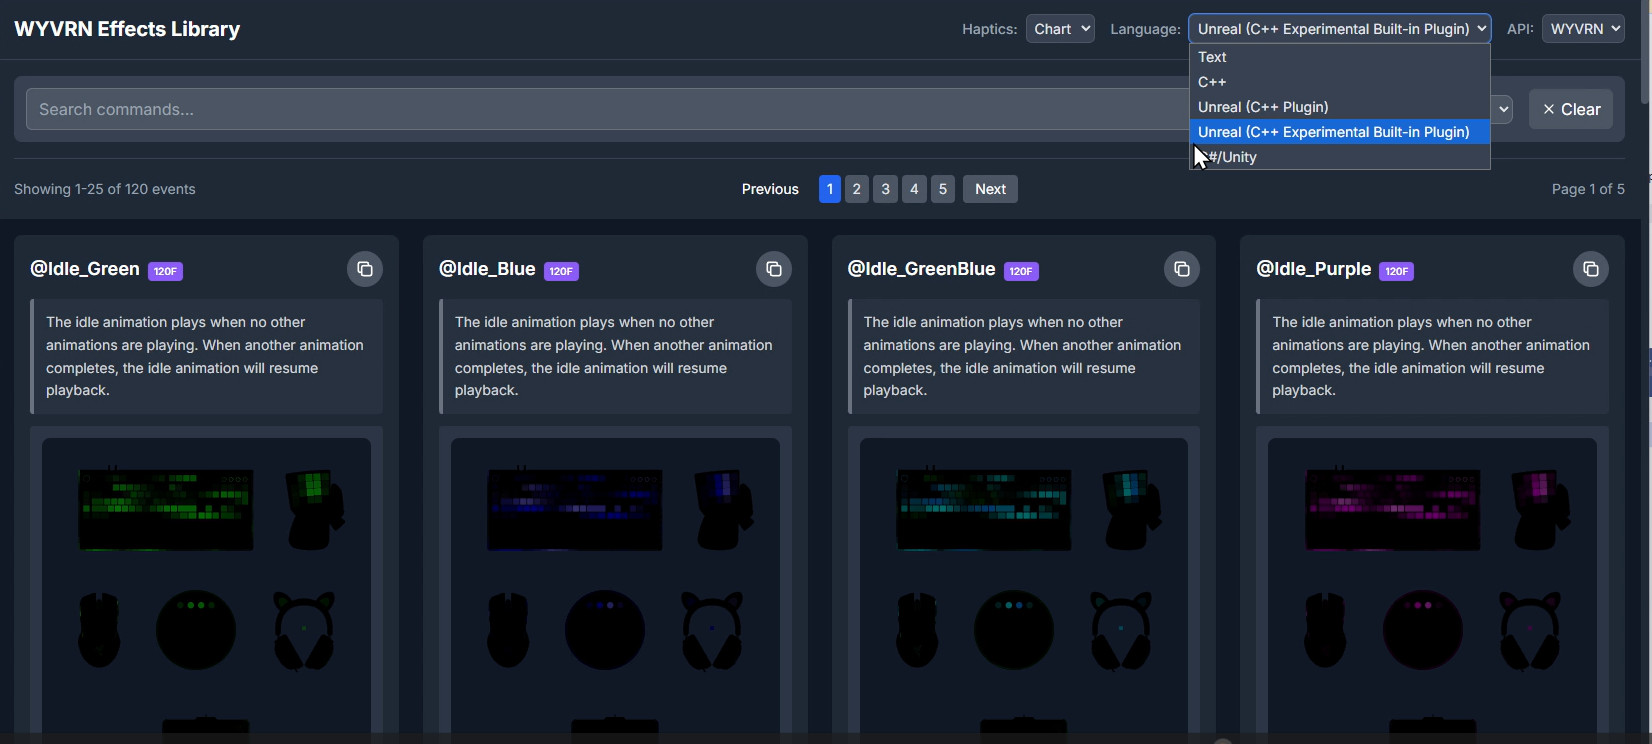
At this point the SampleMyEvent blueprint function can be called. The @Idle_Purple effect will play when the level starts with the event connected to Event BeginPlay. The Chroma Emulator will display the effect on screen.